Motion systems & UI
SaaS screen recordings: capture the action and the pause
Prepare useful screen recordings for a SaaS video: agree the flow, use approved demo data, capture deliberate actions and leave room before and after each result.
 By Ed McCulloch ·
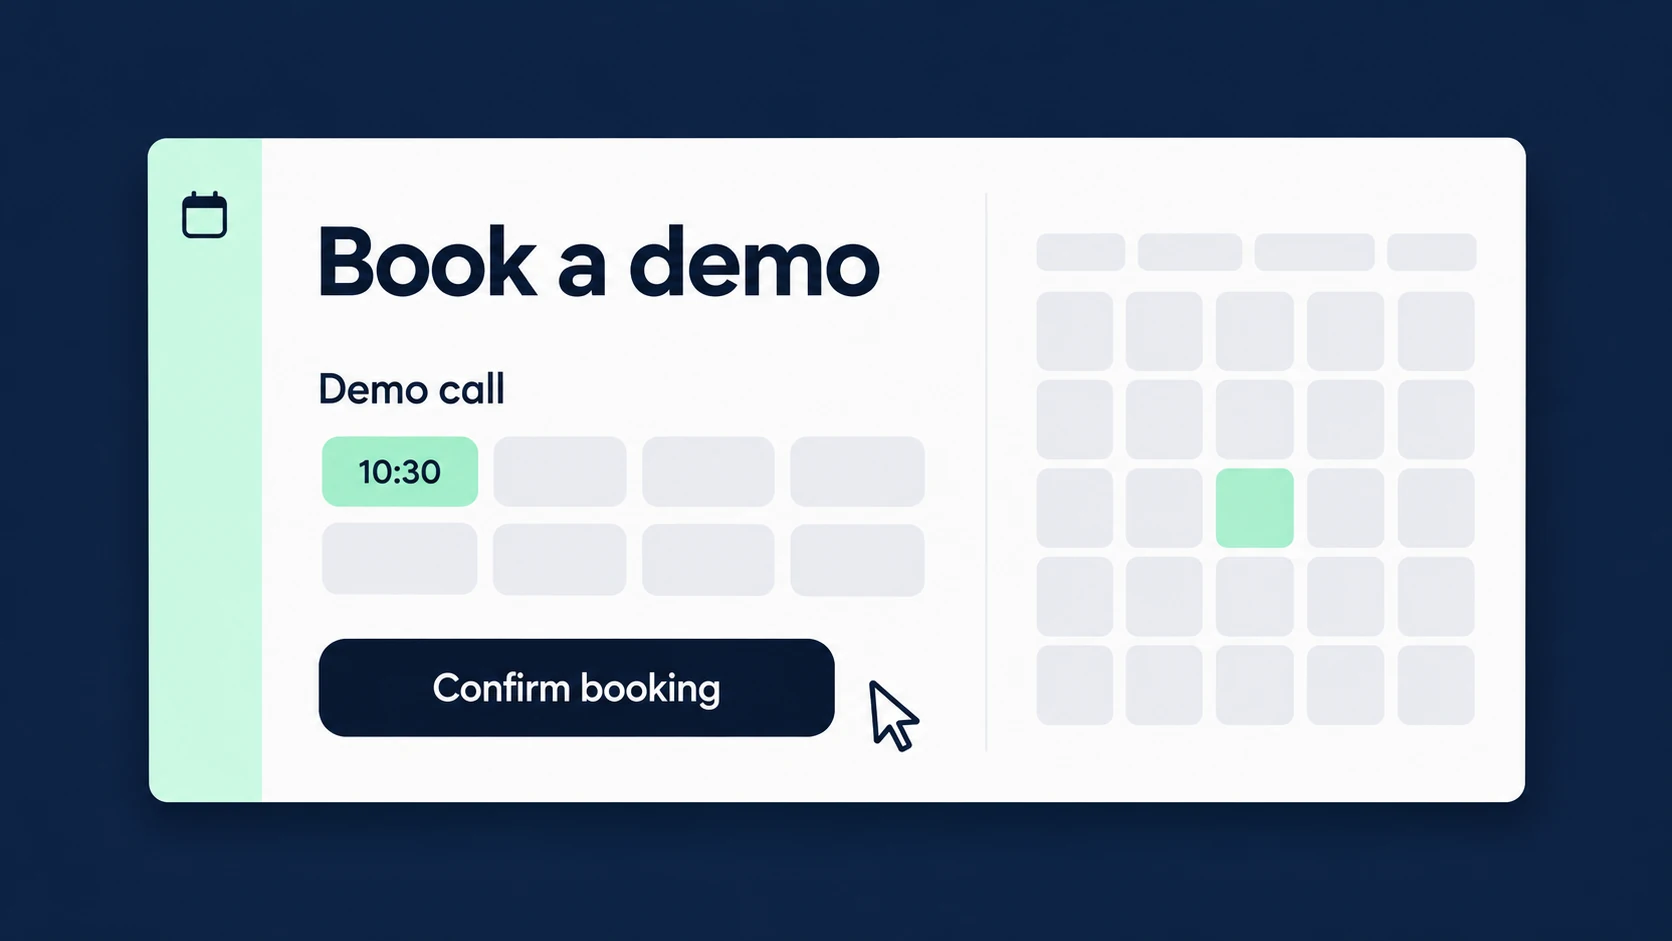
A screen recording can contain the correct feature and still be difficult to edit. The pointer rushes ahead, the result disappears immediately, or the useful control sits too close to the edge of the final crop. The editor then spends time recovering information that could have been captured clearly.
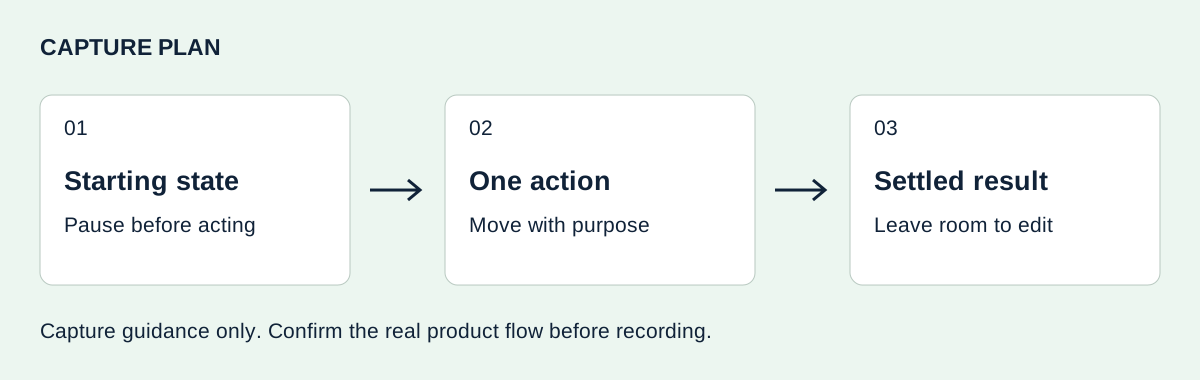
For a brand or agency preparing assets for a SaaS film, treat recording as part of the shot plan. Agree the starting state, the action and the result before pressing record, and leave enough material around them for the edit.
Agree one flow and its approved state
Write a short capture brief for each feature: where the recording starts, which control is used and what the completed action should show. Confirm the wording and behaviour with the product owner. A launch video should demonstrate an approved product flow rather than a convenient reconstruction of one.
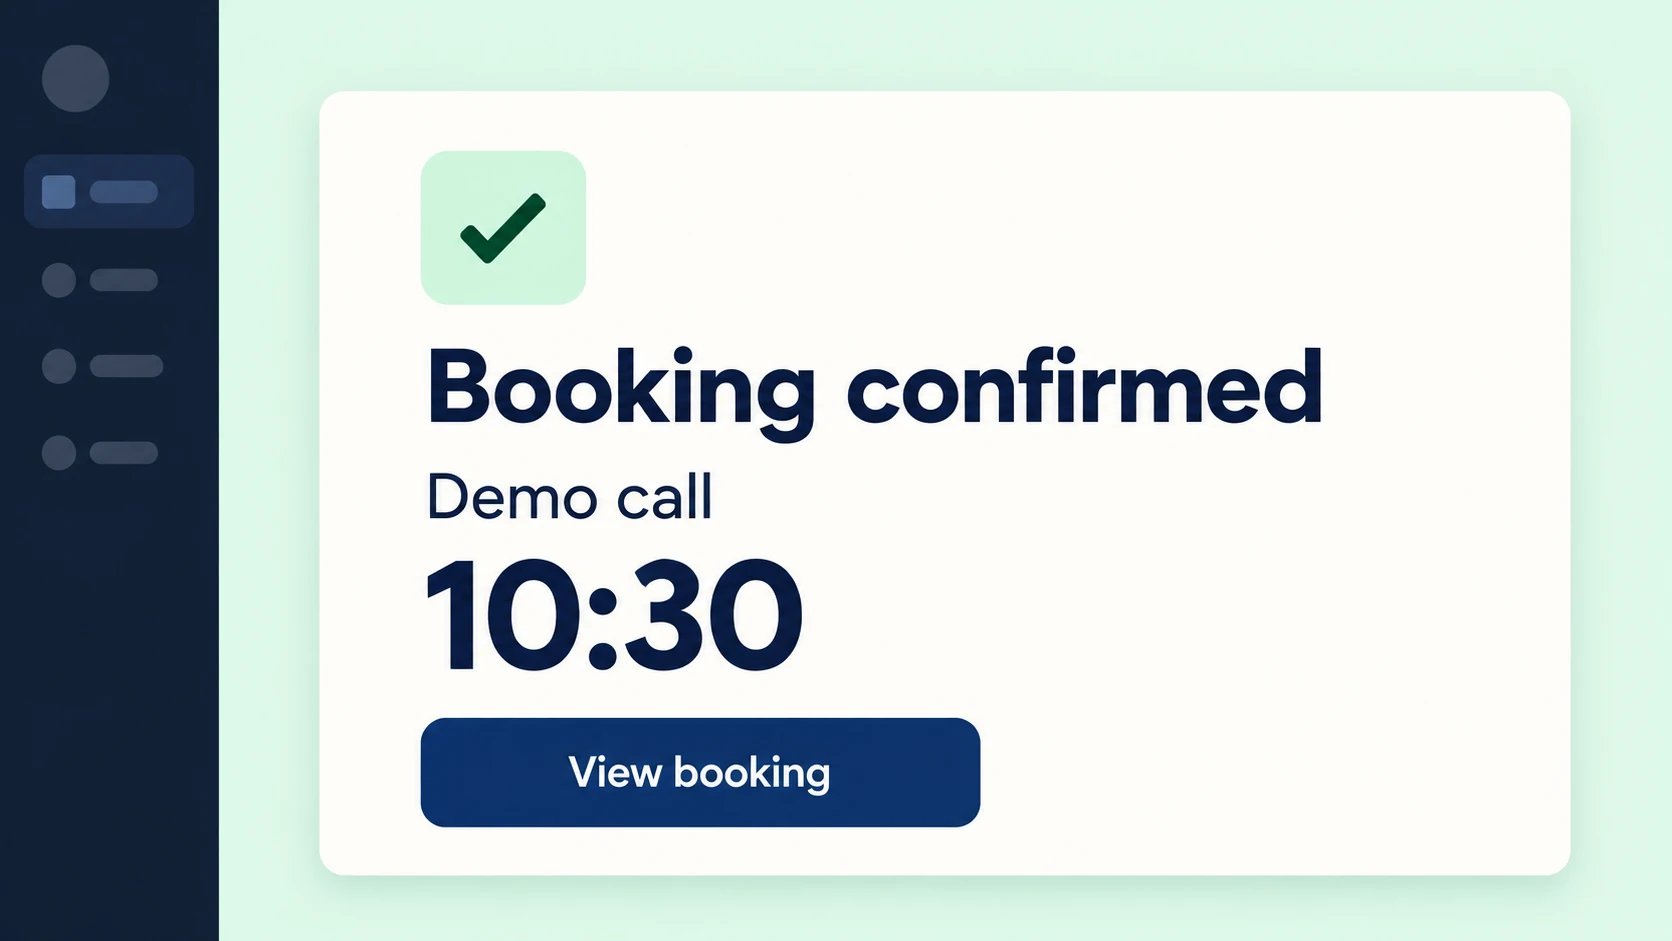
The booking images here are independent AI-generated interface concepts. The first makes a selected time and confirmation action readable; the second shows an explicit outcome. They are not real screenshots, a recorded interaction or evidence that a booking service works. Use supplied screens or native interface assets when exact product evidence is required.
Prepare the workspace and demo data
Use an authorised demo environment with fictional or approved sample content. Choose names, files and dates that support the story. Check what appears in menus, search suggestions and notifications as well as the main panel. A clean screen is easier to review before recording than after it has entered an edit.
Set the window size, interface scale and recording area deliberately. Keep the important control and result large enough for the intended delivery. If portrait and landscape versions are required, discuss their crops before capture; a wide dashboard may need a more focused recording or a separate layout treatment.
Let the pointer explain the action
Begin with a still starting state. Move directly towards the relevant control, pause where it helps recognition, then act. Avoid circling the pointer or crossing important text while the viewer is reading. Capture the real response rather than clicking again simply because the screen has not changed immediately.
If a take contains a mistake, reset the product state and record another clean attempt. Note which take is intended for use. Editing around repeated clicks or unrelated navigation can obscure what caused the result and make the feature harder to understand.
Leave the result on screen
Keep recording after the interface settles. That extra material gives the editor room for a reading hold, narration or a transition. Stop only after the useful outcome is available, not at the instant the confirmation appears. The capture can be longer than the eventual shot.
In the illustrative result frame, Booking confirmed, Demo call and 10:30 have distinct roles. A real recording should give the viewer time to connect the outcome to the preceding action. Agree any time compression where it could otherwise imply a product response speed that has not been established.
Review the source before handing it over
Watch the recording back at the intended output size. Check readable text, pointer visibility, unwanted notifications and whether the full result was captured. Confirm the agreed capture dimensions and frame rate with the editor rather than assuming the default settings suit the project.
Hand over the original recording with the flow name, selected take and any known limitation. Include approved interface assets when labels or layout elements need animation. A clear capture brief and a little extra time around each action give motion design and editing a stronger starting point.