Motion design & product animation
Product animation: give the camera a reason to move
Plan product-animation camera moves around a useful reveal: establish the object, isolate the feature and hold a clear result before adding visual complexity.
 By Ed McCulloch ·
A camera orbit can make a product film feel active while leaving its most useful feature difficult to see. If every shot changes angle, scale and lighting together, the viewer has to keep rebuilding their understanding of the object.
For a brand or agency briefing product animation, give each camera move a specific question to answer. What does this angle reveal? What becomes clearer during the move? Where should the viewer be looking when it stops?
Name the information the shot must reveal
Choose one feature or relationship: the thickness of an edge, the position of a control, the way a lid opens or the connection between two parts. Decide what the viewer should understand after the shot that they could not understand before it.
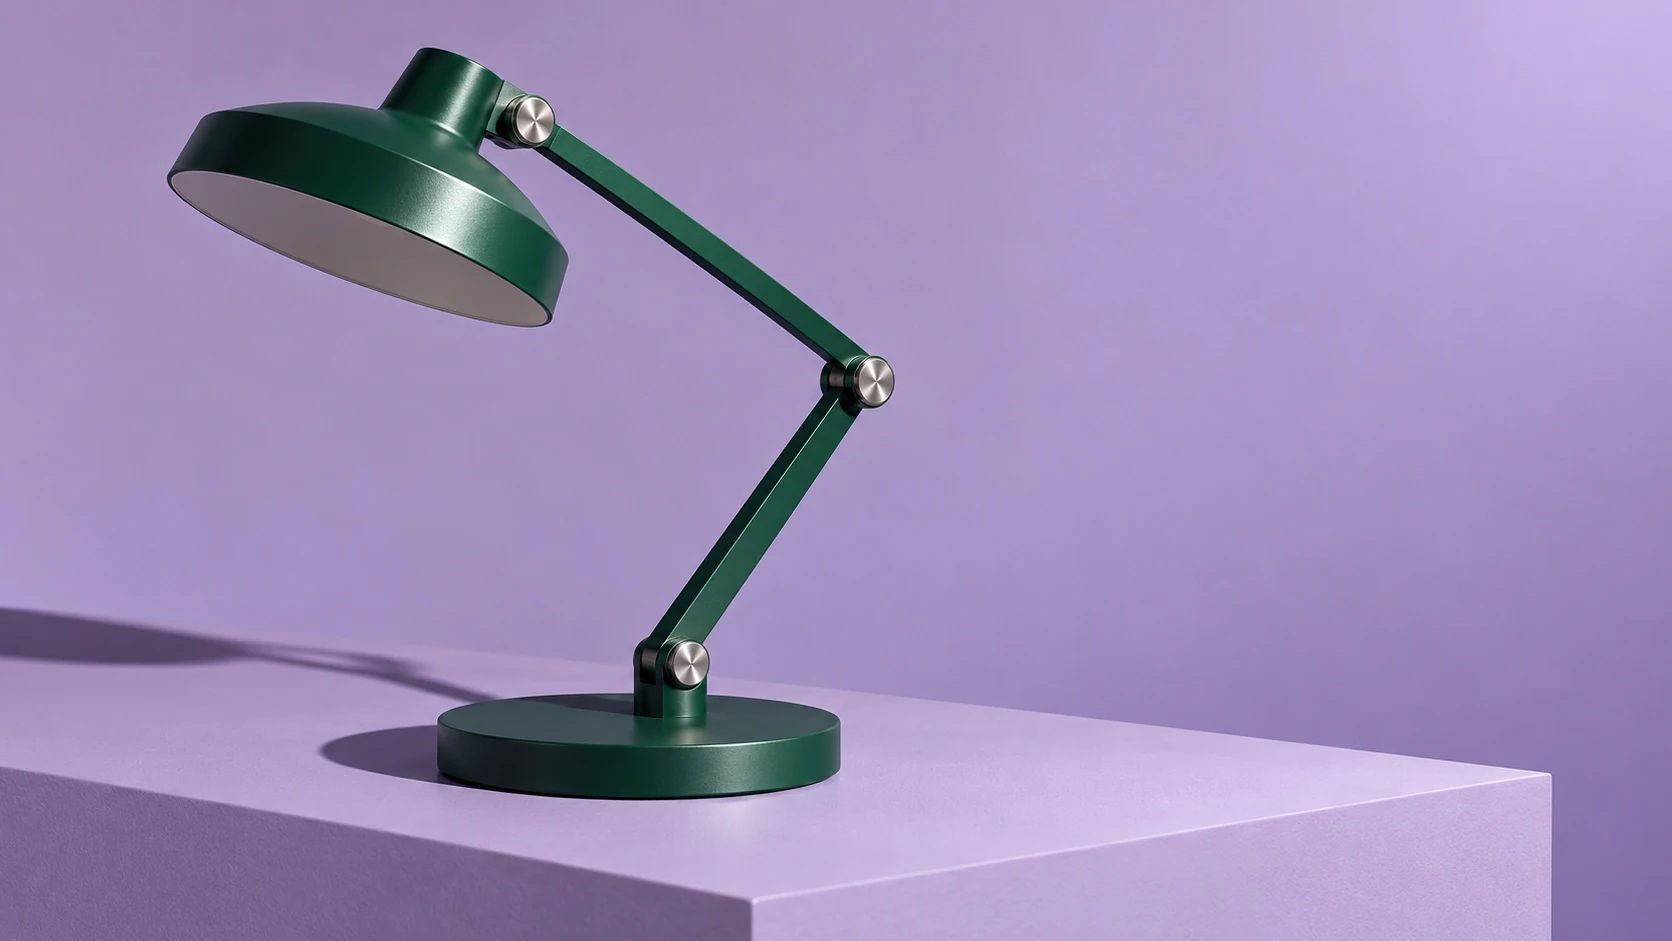
The green articulated lamp is an original AI-generated design concept. Its base, arm and shade form a readable silhouette, making it useful for discussing camera choices. It is not a real product, an engineered model or evidence of a tested adjustment mechanism. For commercial work, approved product references and geometry must lead.
Establish the object before moving into the detail
A wider view gives the detail an address. Show enough of the whole object for the viewer to recognise where the feature sits. Then decide whether a move or a cut is the clearer route into it. A close-up introduced without context can look impressive while leaving its purpose uncertain.
For a lamp film, an opening three-quarter view might establish the base, elbow and head. A following detail could focus on a joint. Those are proposed shot roles, not a claim that the two illustrations show the same design or form a completed sequence.
Choose the move from the relationship
A short lateral move can separate overlapping parts. A restrained push can direct attention towards a control. A change in viewpoint can reveal thickness that a frontal image conceals. An orbit earns its time when seeing several sides is necessary to the message.
Judge the starting and ending compositions before refining the path between them. Keep the important feature in a useful part of the frame and avoid letting another surface block it at the moment it matters. If the move adds little information, a held frame or direct cut may serve the film better.
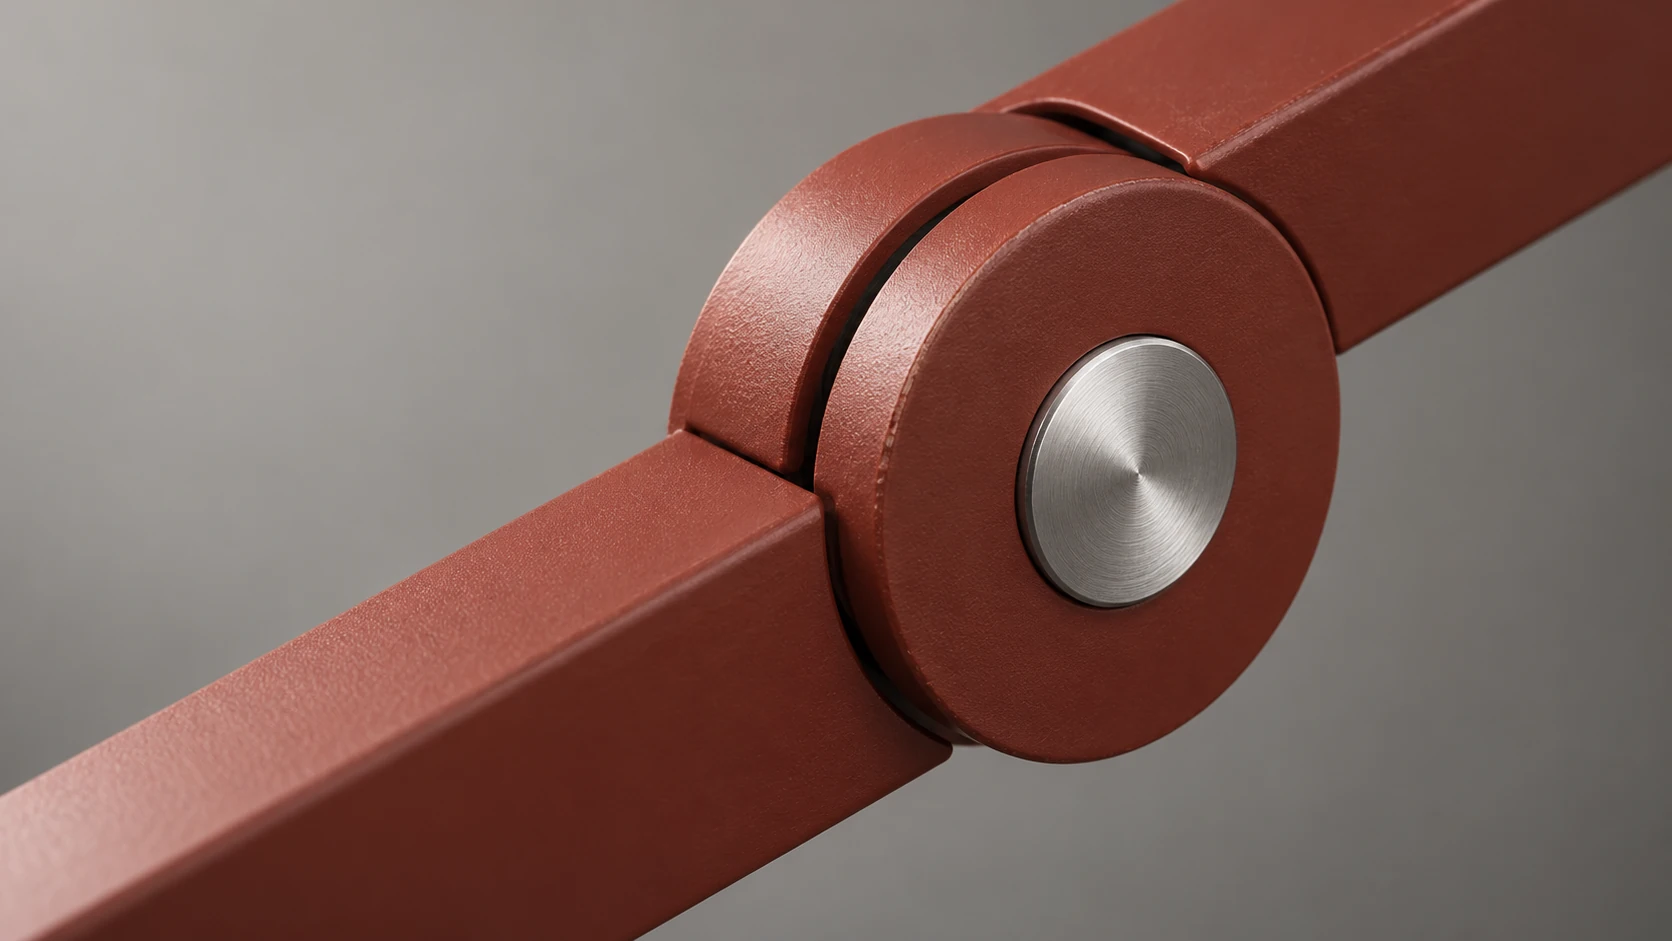
Separate camera movement from product movement
Decide which movement carries the explanation. If a hinge is opening, a stable camera may make the change easiest to read. If the product remains still, the camera can reveal its depth. Moving both can work, but the combined motion should leave the feature recognisable throughout.
Plan lighting alongside the view. A highlight can describe curvature, then disappear as the camera moves; a dark reflection can hide a control that was clear in the first frame. Review the whole shot for material and feature readability rather than approving only the most attractive still.
Hold the result and test the delivery crop
Leave space after the reveal for the viewer to understand it. A label or short line of copy should support the visible evidence, with room around the product and a reading hold that suits the edit. There is no universal duration that makes every feature clear.
Review playback at the intended output size and in each required crop. Check the silhouette, focus, feature visibility and any text together. A move that works in a wide frame may need different staging in portrait. Keep camera, object and graphic controls editable so the final review can improve clarity without rebuilding the entire shot.